 LibreChat
Agent Channels (Beta)
Connect an agent to Slack, link your account, and use your tools from a channel or direct message.
Talk to a LibreChat agent from Slack, ask follow-up questions in a thread, and use its tools with your own account.
- Already connected an agent? Link your account.
- Connecting an agent to Slack? Start with Slack setup.
- Setting up the gateway? Follow the deployment guide.
Beta and opt-in
Agent Channels requires a separate Slack gateway and a transaction-capable database. An administrator needs to set these up before you can connect an agent.
Before you start
Follow the steps for your role:
| Who | What to do |
|---|---|
| Deployment operator | Run the gateway and configure the public HTTPS callback URLs. |
| Organization administrator | Register a Slack app and connect a workspace, then grant bot management access if needed. |
| Agent manager | Assign an agent to the bot or a channel. |
| Each Slack participant | Link your account, confirm it in Slack, and send a new request. |
If your deployment uses a manually configured Slack app instead of organization workspaces, follow manual connection setup.
Organization workspaces
A Slack app provides the bot's identity; installing it grants access to a workspace. Each registered app supports one active workspace. Use separate apps for additional workspaces.
Register an organization’s Slack app
Create the app in Slack. Open Your Apps and create an app from scratch, or use one your organization controls. If Slack shows the Pick features wizard, continue without scopes or events, then select Create → Create Anyway. Do not install it yet.
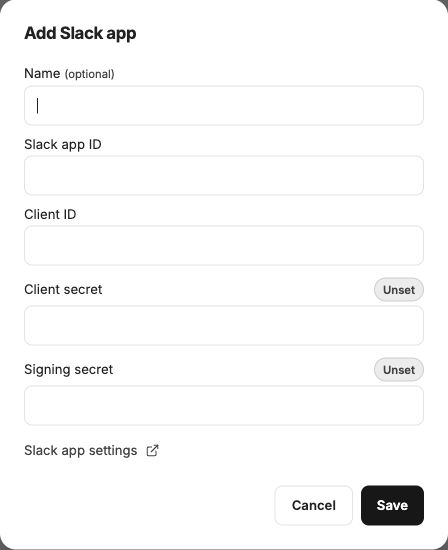
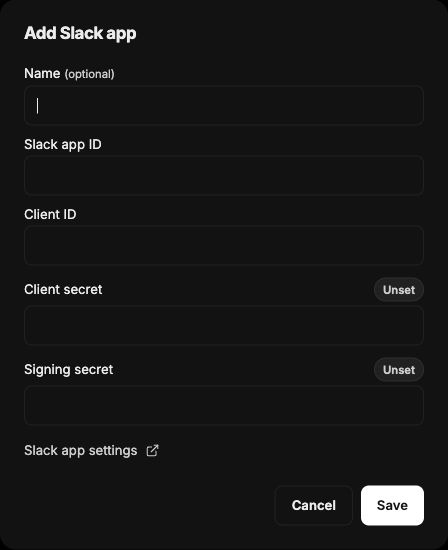
Register it in LibreChat. Open Settings → Account → Slack → Set up (or Manage), then Add Slack app.
Copy these values from Slack's Basic Information → App Credentials into the matching fields:
- App ID
- Client ID
- Client Secret
- Signing Secret
Select Show before copying a secret. You can also enter a Name to identify the app in LibreChat; this does not rename the bot in Slack.
Select Save. You can now expand the registered app to find its callback URLs.
Configure its callbacks. Slack uses separate URLs for app installation, incoming events, and button clicks.
Turn Socket Mode off in Slack. In LibreChat, expand the saved app and open the gear button, Connection settings. Copy each URL into its matching setting in the same Slack app:
| LibreChat value | Slack setting |
|---|---|
| OAuth redirect URL | OAuth & Permissions → Redirect URLs; add and save |
| Events URL | Event Subscriptions → Enable Events → Request URL; wait for Verified |
| Interactivity URL | Interactivity & Shortcuts → Interactivity → Request URL; save |
Keep the complete URLs, including any base path and organization/app suffixes. The gateway must be running and publicly reachable before Slack can verify the Events URL.
Add bot permissions. Under OAuth & Permissions → Bot Token Scopes, add:
app_mentions:read
chat:write
reactions:read
reactions:write
files:write
im:write
im:history
No user-token scopes are needed.
Subscribe to events. Under Event Subscriptions → Subscribe to bot events, add:
app_mentionmessage.imreaction_addedreaction_removedapp_uninstalledtokens_revoked
Save the subscriptions.
Allow direct messages. Under App Home, enable the Messages tab and allow users to send messages from it.
Leave token rotation and organization-wide installation disabled. If you want Slack's native Agent status and Stop controls, follow that additional setup too.
Install the app. In LibreChat, select Add to workspace, choose the intended Slack workspace, and approve installation. Workspace approval policies still apply.
Wait for Connecting to Slack… to close. When the workspace shows Connected, you can assign an agent.
Use Cancel to abandon a pending installation or Retry after a failure.
LibreChat stores these credentials encrypted. Organization setup uses app credentials rather than a pasted bot token or app-level token.
Assign an agent
Before assigning an agent, you need permission to share it and management access to the Slack bot. Installation administrators do not need a separate bot-manager grant.
To grant bot management, an administrator opens the workspace's users button, Manage access (Manage bot access dialog). This permission lets someone assign agents through the bot. It does not grant Agent sharing permission, and people only talking to the bot do not need it.
Save an agent you have permission to share. In the Agent Builder's Channels section, select Add, then the Slack card in the Channel Library.
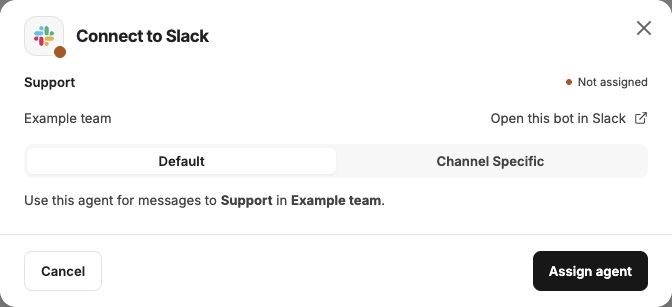
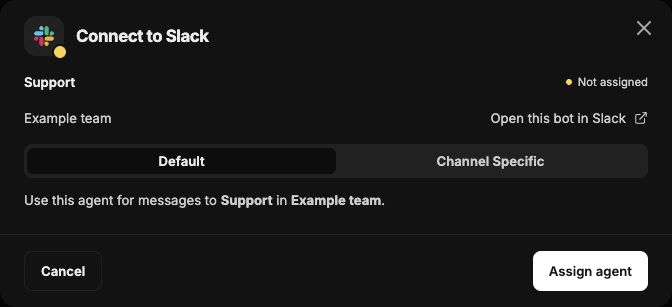
Choose a Slack bot, then Continue. If none appear, ask an administrator to connect a workspace and grant you bot management access.
Choose Default for new direct messages and mentions without a channel-specific assignment. Or choose Channel Specific and enter the Slack channel ID from Slack's channel details, rather than its name. Select Assign agent.
If another agent already owns that destination, Replace default agent or Replace channel agent asks for confirmation. Existing conversations keep their original agent.
Account linking
Link your LibreChat account the first time you use the bot. Your account needs access to the agent, and your role must allow using Agents and querying them through Remote Agents (API). Installing the app or linking an account does not grant these permissions.
Linking happens in two places: choose your LibreChat account in the browser, then confirm that account in Slack. Both steps are required.
Invite the bot to a Slack channel with /invite @YourBot, then mention it: @YourBot hello. Installation does not invite it to every channel. Or send a direct message when the Messages tab is enabled.
Select Link account in the bot's private message. Sign in to the LibreChat account you want to use, check the account and agent shown, then select Link account in the browser.
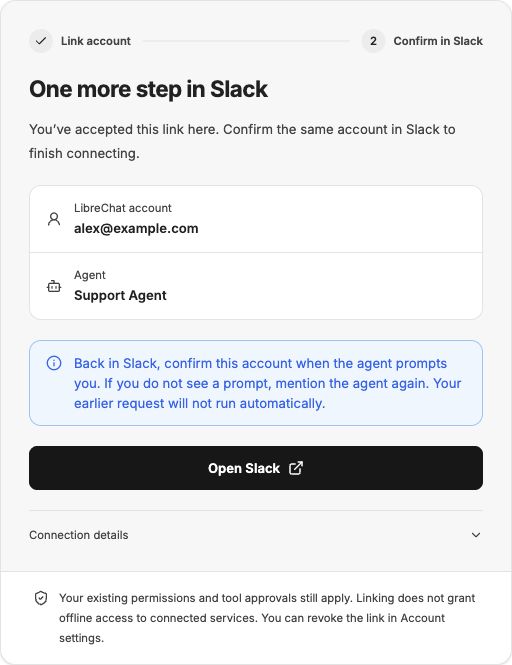
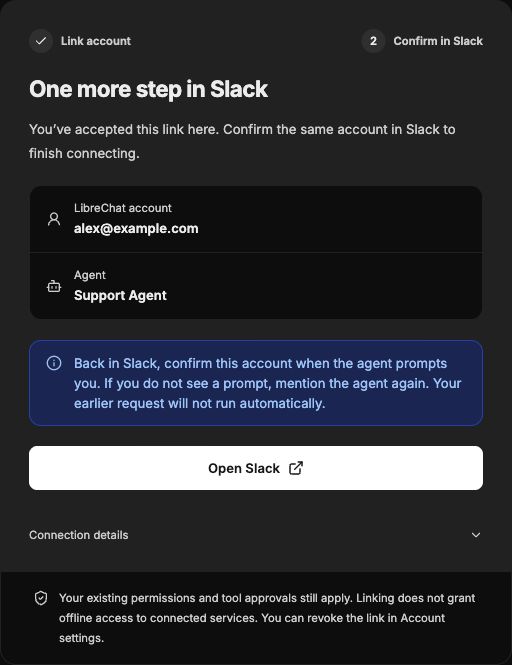
Seeing One more step in Slack in the browser is expected. Return to the bot's private Slack message and select Confirm account from the same Slack account.
If the message has expired or does not update, mention the bot again to get another prompt.
When Slack shows Account connected, send a new request. Your earlier message will not run automatically.
A successful answer completes setup. To check tool access too, ask the agent to use a tool your account is allowed to use.
You may need to link again after the link expires, you disconnect, or the connection is reactivated.
Use the agent
Continue in the same Slack thread for follow-up questions. A working message provides Stop and, when needed, Review. Supported questions and individual tool approvals use private Slack controls; provider sign-in and unsupported forms open the authenticated browser flow. The agent's approval policy still applies.
Answers can contain code, tables, links, files, and charts. Agent authors can opt into richer layouts using the rich-message format. Optional native Agent status and lifecycle reactions are configured by the deployment operator.
Sharing a Slack thread does not share another person's files, account, pending question, or approval authority. Stop cancels your authorized work without undoing effects a tool already performed. Wait for the final status; an acknowledgement alone does not mean work has finished.
Manage connections
Set up a manual Slack app connection
Use this path when organization workspaces are not enabled. Ask your deployment administrator to enable manual Channels and prepare the gateway first.
Save the agent, then choose Channels → Add → Slack. Choose Per-user accounts for each participant's own account, or Channel owner only to restrict use to the creator. Select Continue. Owner-only mode does not lend your account to others.
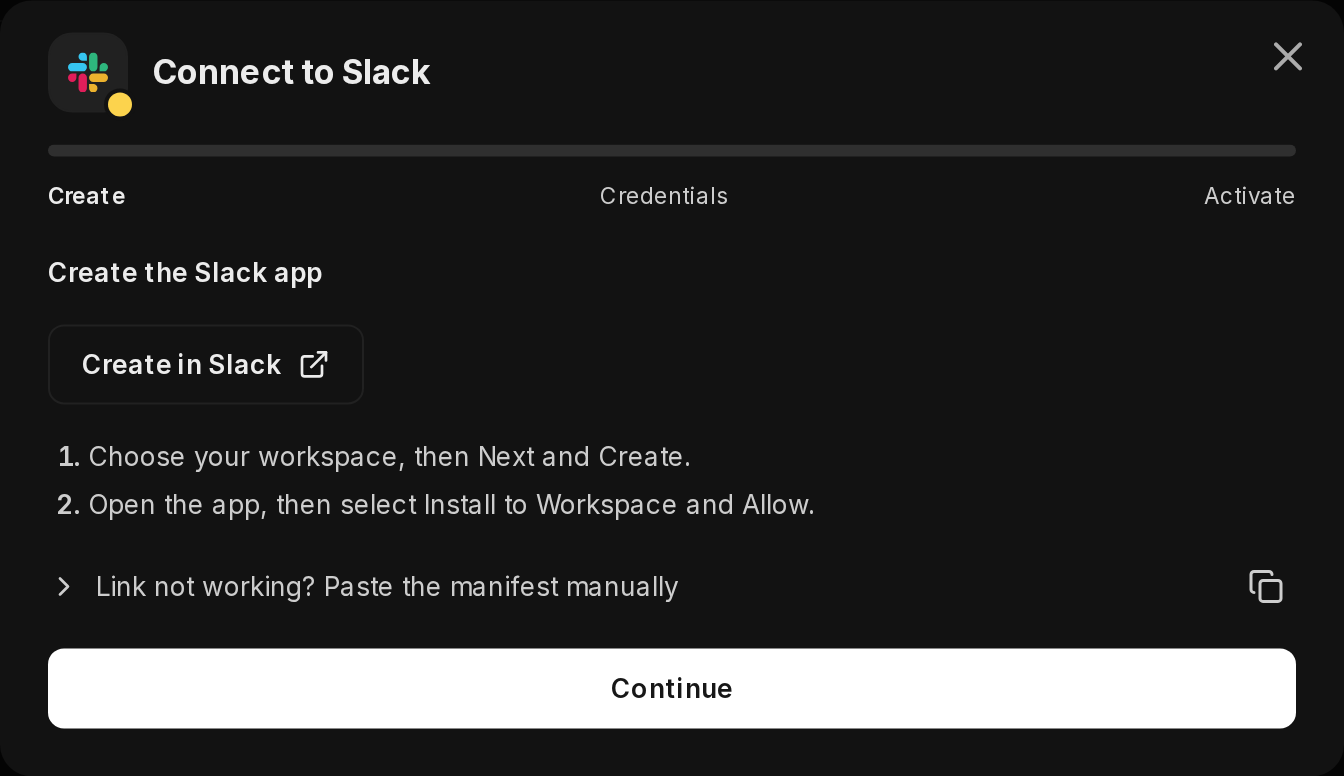
In Create, select Create in Slack to open Slack with the generated manifest. Choose the workspace, create the app, then Install to Workspace → Allow. If the link fails, expand Link not working? Paste the manifest manually. Make later app changes in Slack's app settings.
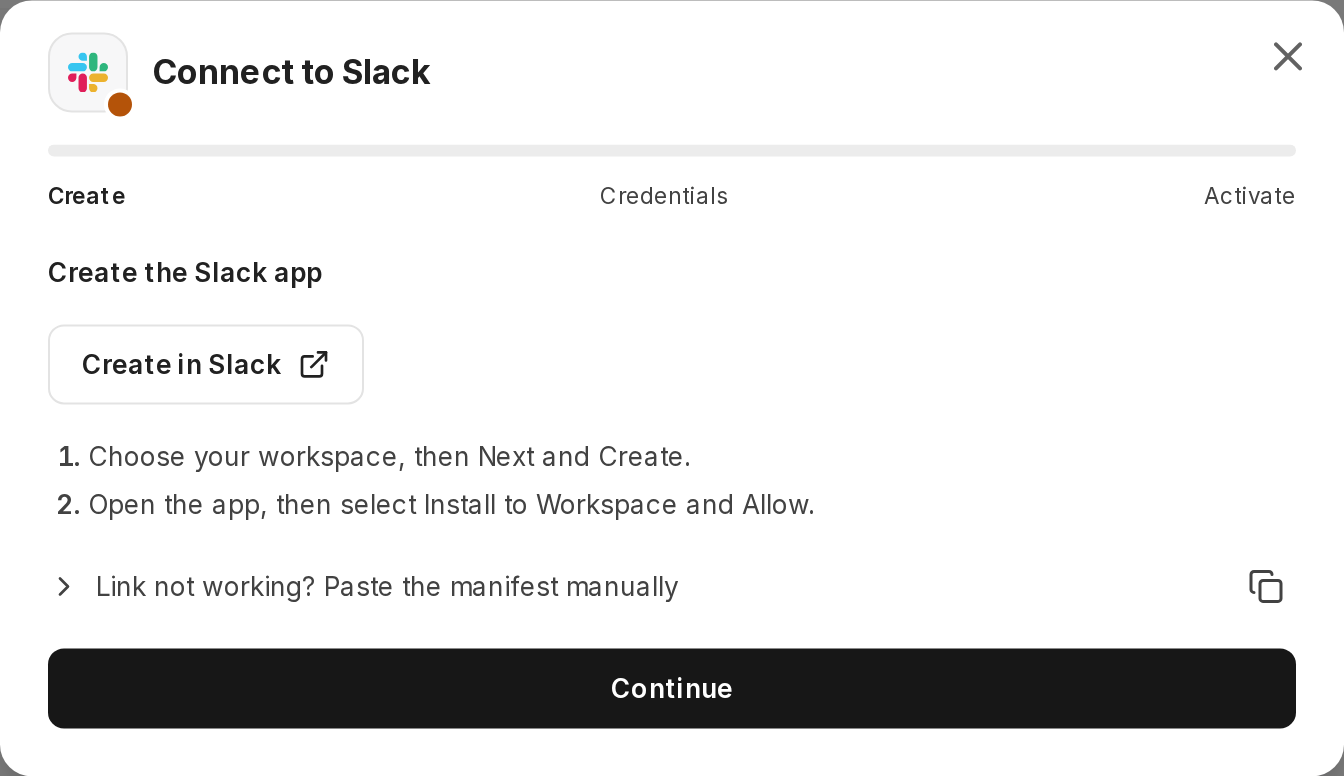
In Credentials, enter the matching Slack app ID and Bot token. Webhook mode also requires the Signing secret. Select Continue, review the values in Activate, then select Activate channel. LibreChat verifies the bot identity and stores the credentials encrypted.
Hover over or focus the Slack/status icon in the connection dialog to find the Connection ID. Give it to the operator to start the bound gateway. Invite and mention the bot, then complete account linking.
Troubleshooting
| Problem | What to check |
|---|---|
| Channels or a Slack bot is missing | Save the agent first. Check gateway setup, Agent and Remote Agents permissions, sharing access, and bot management access. |
Events URL will not verify, or Slack callbacks return 401 | Gateway is running on public HTTPS; the URL and Signing Secret belong to the same saved app. Check clock synchronization; do not disable signature checks. |
| The bot does not respond | Invite it to the channel, assign an agent, and check the personal link. For organization workspaces, turn Socket Mode off and enable Events with the subscriptions above. Ask the operator to check gateway readiness. |
| Confirmation, approval, or Stop does nothing | Enable Interactivity and save its exact Request URL. The Events URL is a separate callback. |
| Link is awaiting confirmation | Select Confirm account in the private Slack message, then send a new request. Mention the bot again to recover the prompt if needed. |
| Permissions are missing after scopes changed | Reconnect through LibreChat and approve the updated grant. Existing tokens do not gain scopes automatically. |
If an approval becomes unavailable after a server restart, ask an administrator to check the recovery limits. A stale approval does not execute the tool; check the original run before starting the work again.
How is this guide?